How do I change my wax guard?
Has your hearing aid ever suddenly stopped working? Most often, you might try changing the battery and then wind up coming in to the audiology office for an appointment. During that appointment, have you been told that your hearing aid was just plugged with wax? Well, I know that I have told many patients this in the past. The great news is that you have the ability to unclog your hearing aid at home by changing the wax guard.
What is a wax guard and why is it important?
Depending on the type and style of hearing aid you have, there is a wax guard located at the sound outlet or at the receiver. The wax guard acts as a protective cover to stop ear wax from going deep into the hearing aid. Typically it is a white circle that is located on the portion of the hearing aid that you insert into your ear.
When should I change my wax guard?
The amount of earwax produced by each individual can vary. It is recommended that we check the wax guard daily. If your hearing aid starts to sound weak/silent or wax is visible, it’s time to change the wax guard.
How do I change my wax guard?
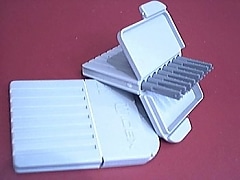
First, wipe off any visible wax from the hearing aid, and make sure you have the necessary wax removal sticks to change it at home.

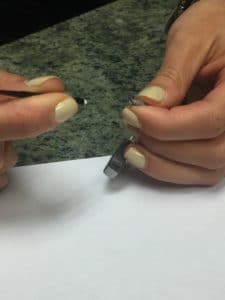
Next, insert the open ended portion of the removal stick into the sound outlet (usually encompassed into a stainless steel bushing), twist, and pull it straight out.


Now, turn the removal stick to the other side (that has the new white end on it) and insert the new white end into the sound outlet and remove. Make sure the wax guard is sitting flat against the stainless steel bushing of the sound outlet.
All that’s left to do is throw out your old wax guard and removal stick, which can’t be reused. And you’re done! Are you hearing better now?
